How to prepare, paint, varnish and look after your floor

Project overview
Whether you have hardwood, laminate or a tiled floor, you need to look after it. A few chips and flakes of paint or varnish here and there can spoil the finish and make your floor look shabby. But there’s no need to completely replace it, looking after and repairing your floor is much easier than you think! So here’s our ultimate guide to flooring and everything you need to know from painting and varnishing to repairing gaps and eliminating scratches.
How to paint a wooden floor
It’s the number one rule of DIY, before you can start painting you need to prepare the surface first.
- Clean your floor
Whatever the finish of your floor, you need to vacuum, sweep and remove furniture. You don’t want to immortalise dust or dirt forever in your newly painted floor!
- Prepare the surface
The way you prepare your floor depends on the condition it’s in.
Bare hardwood floors
- Fill in any cracks and gaps so you have a completely smooth surface for painting (see section two for how to fill gaps). Paint over knots with knot blocker to ensure they don’t show through your newly painted floor.
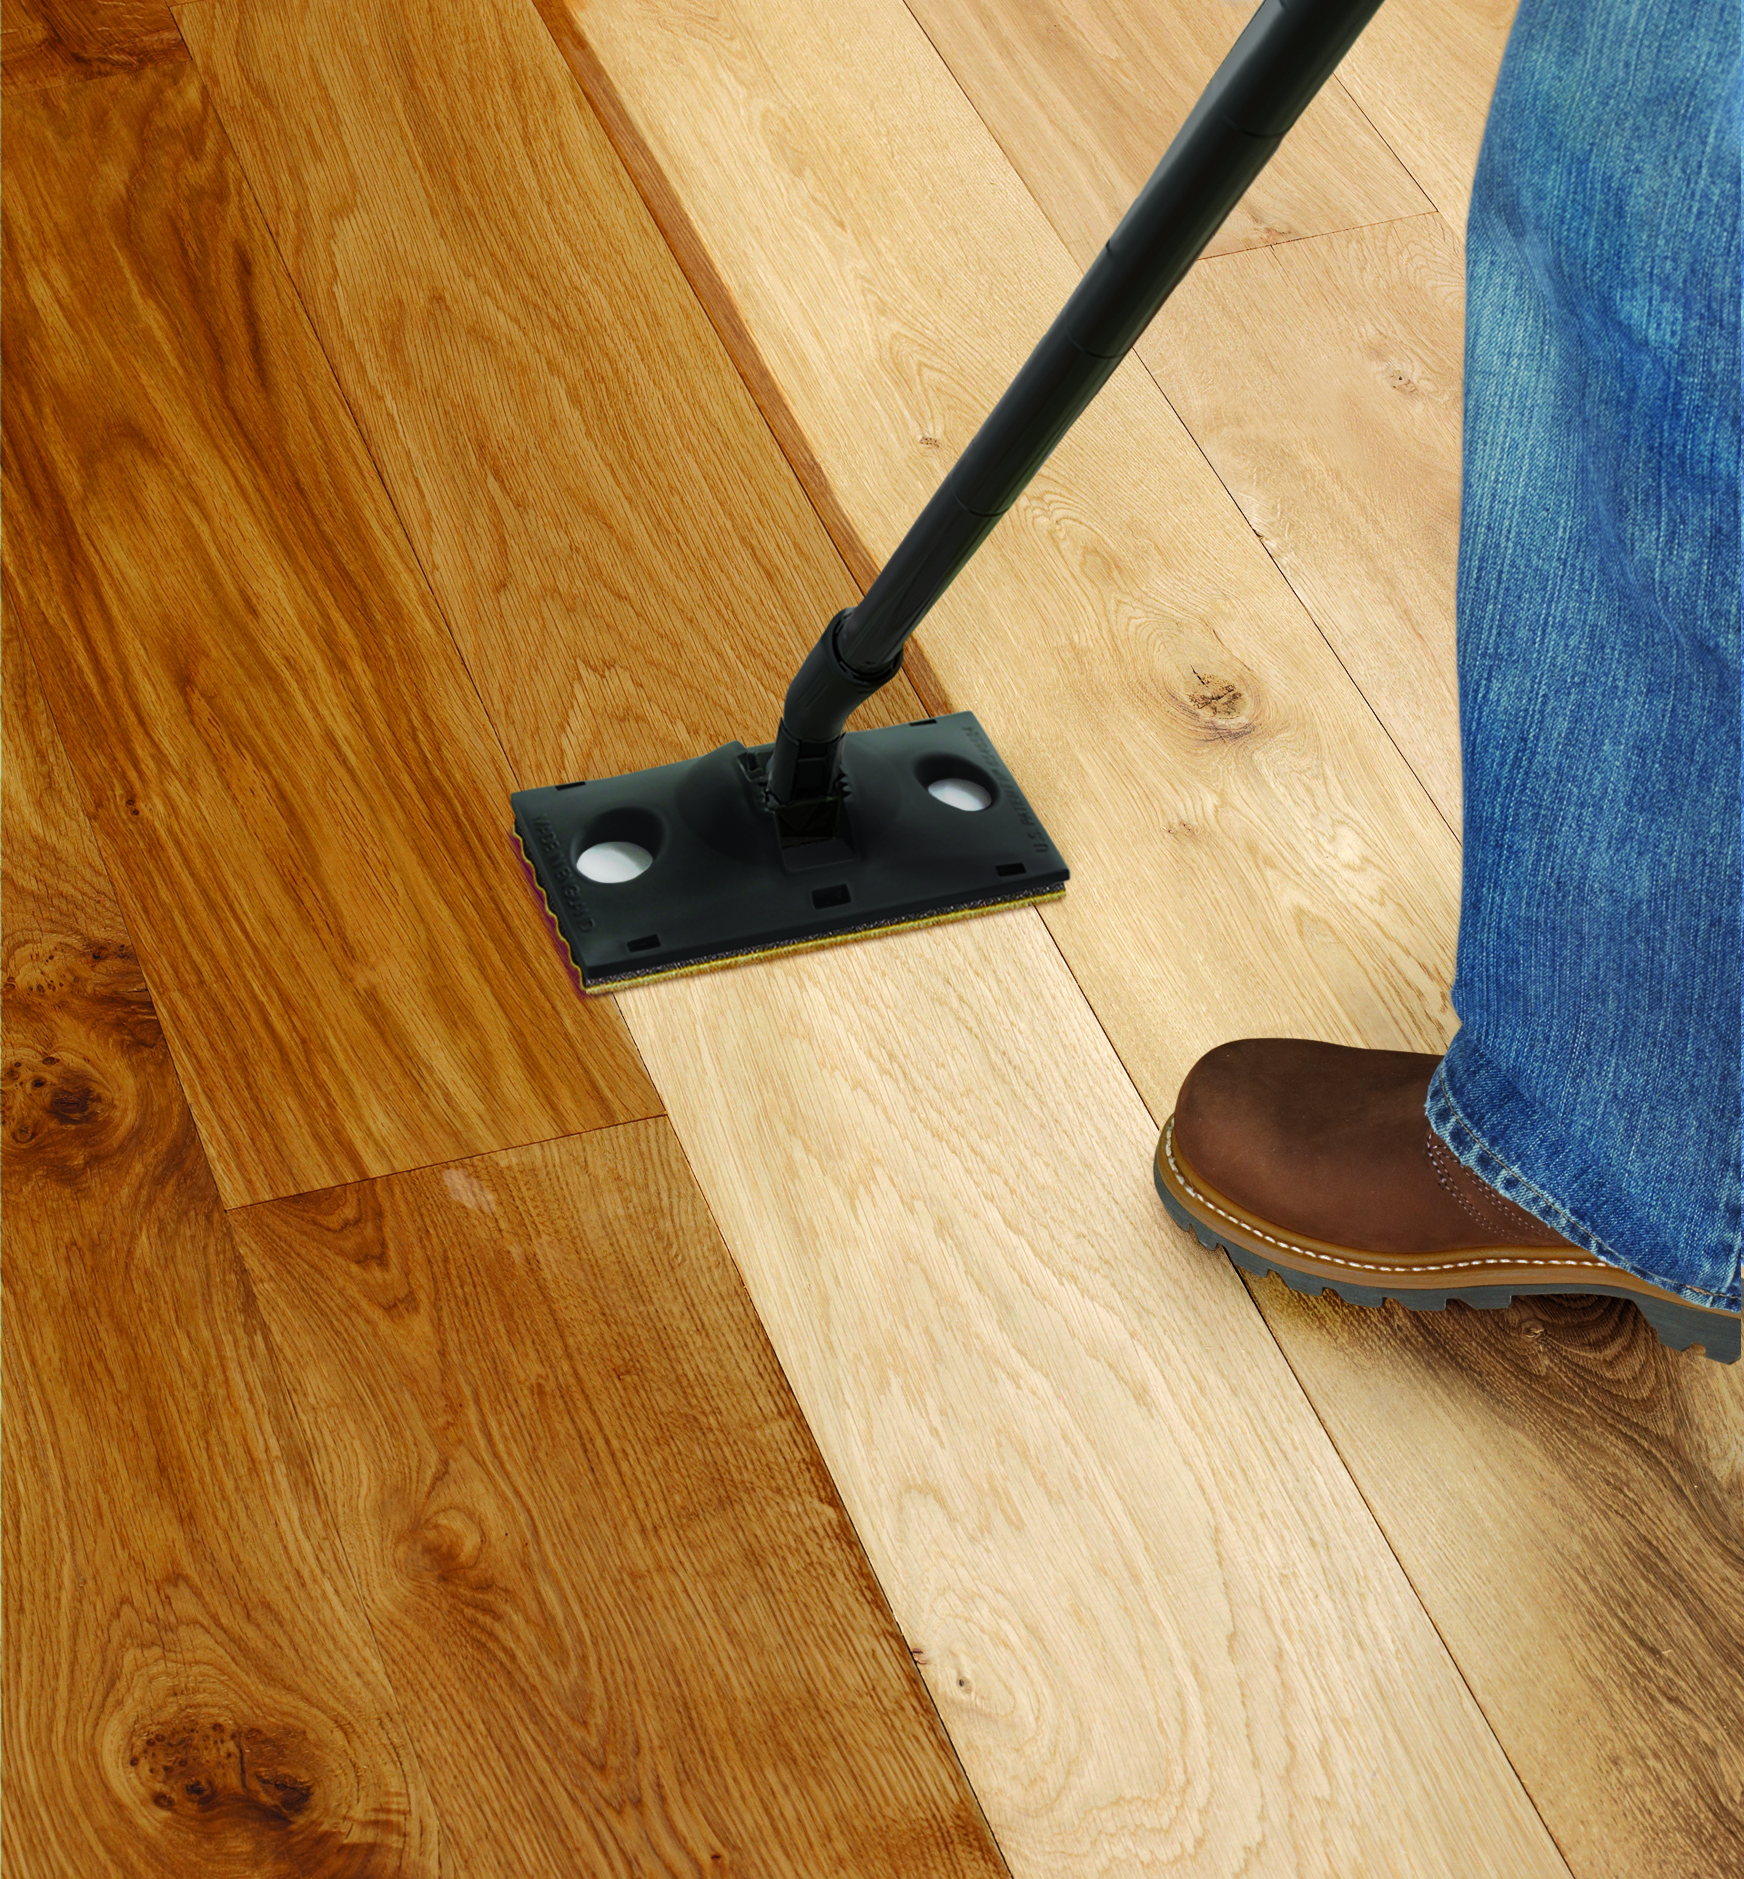
- Sand the floor down with 120 grit sandpaper, this will help the paint to stick and it’s a quick and easy job with a floor sander.
- Let the dust settle and vacuum it all up.
- Now you’re ready to paint.
Previously painted hardwood floors
- For floors that have already been painted, you’ll need to sand back (120 grit paper and a floor sander) to the bare wood and remove all peeling, cracked or blistered paint.
- Once you’ve done that, vacuum up the dust and wipe down the floor with white spirit. Let it dry before you start painting.
Once you’ve fully prepped, you’re ready to start painting!
- Painting your wooden floor
Thoroughly stir your paint making sure the colour pigments are all mixed together. Test it on a small patch of your floor to make sure you’re happy with the colour.
Apply the paint in the direction of the grain. You can use a brush (although this will take a while!), roller or a pad to get the job done much faster.
Start in the corner opposite your door and paint towards it. Cover two to three floorboards at a time to ensure you aren’t left with overlap marks and be sure not to paint yourself into a corner!
Wait for the paint to dry before applying another coat. Our Diamond Hard Floor Paint takes four to six hours to dry between coats, but check the manufacturer’s instructions if you’re using a different paint. For the best results and a rich colour pigment, you will normally need to apply three coats but again be sure to double check with the instructions.
After another four to six hours (or whatever the paint manufacturer recommends), your floor will be dry enough to walk on and you can carefully move your furniture back into the room.
- Looking after your newly painted floor
To prevent your floor from becoming chipped again and needing another coat of paint, clean it regularly and make sure you pick up any dirt or grit that could cause a scratch.
If your floor is scratched, read on to find out how to easily fix it.
How to paint floor tiles
Painting floor tiles is a decision that shouldn’t be taken lightly. It’s important to weigh up the pros and cons before you dive in and spend money, time and effort painting.
Reasons to paint floor tiles
- It’s a cheap fix
- It gives you a lot of control over the colour and style – you don’t have to rely on what’s available from tile manufacturers
- It can be an interim option if you really hate your tiles but can’t quite afford to replace them just yet
Reasons not to paint floor tiles
- Painted tiles can chip and flake VERY easily
- It’s not really suitable for areas of your home that experience heavy footfall
- It’s not a quick job and can take time – you’ll find yourself waiting for your floor and layers to dry time and time again.
- It won’t cope with pets and claws.
If you want to change your floor tiles, we recommend replacing the flooring as this is much more durable.
So consider yourself well and truly warned!
If you’re still set on painting your floor tiles, here’s how you can do it. One tip though: Always follow the manufacturer’s instructions! Painting floor tiles is hard enough so following the instructions on your primer and paint will only make this easier.
- Clean
Use a floor cleaner and clean the tiles and the grout. Leave it to dry.
- Prime
Apply a primer to the floor. Use a paintbrush for the grout and edges of each tile, then a roller to fill in the middle.
Leave the primer to dry as per the manufacturer’s instructions.
- Paint
It’s up to you what kind of paint you use. Specialist floor paint is available however most are not designed to be applied to floor tiles but rather wood instead. You can find tile paint however this isn’t meant for floors but rather tiles on the wall instead.
Apply thin coats to the floor (as hopefully this will help it stick better), following the same method as when you applied the primer.
Let the first coat dry as per the manufacturer’s instructions and then apply another. Once it’s dry enough, check to see if the colour is deep enough before deciding to apply more paint.
Let the paint dry for the recommended length of time (or maybe a little bit more considering how sensitive your floor will be!), and move any furniture back into the room.
- Be careful!
If you’ve painted tiles in a room other than the bathroom, we recommend moving furniture back in slowly and carefully. You may want to add protective pads to the bottom of furniture to stop it from scratching your floor.
There’s not much DIY that we don’t recommend doing yourself, but this is one project that probably won’t be worth all the effort.
Can I paint laminate flooring?
Painting laminate flooring is possible but it’s a really short-term fix for a problem that needs a long-term answer.
Floor paint is designed for wooden floors, which are different to laminate. Laminate is covered in a shiny protective seal which means that getting paint to stick is hard and requires a lot of prep, in particular sanding. As a result, you might not get consistent colour coverage, may need additional coats, and will have a less-than-perfect finish – not ideal when a floor can’t be out of action for a while.
Because the paint won’t stick properly to the laminate, you’ll find that after it’s dried it demonstrates sign of wear and tear much quicker.
Instead of painting the laminate, we suggest replacing it completely with the style you like. This will be a bigger investment, but will be worth it in the long run.
How to varnish floorboards
The process for varnishing floorboards is really similar to painting them. But before you can start preparing, you need to decide what kind of varnish to use.
Water-based varnishes
Water-based varnishes can withstand wear and tear while adding a shine to your floor. They have a low odour so they’re nicer to use and won’t leave a lingering smell throughout your home.
They’re also thinner than other varnish types which means they dry faster. It also means though that they might not penetrate the wood as deeply so could be more susceptible to damage.
Water-based varnish also emphasises your natural wood without colouring it.
Our floor varnishes are water-based and quick drying too so your rooms won’t be out of action for long. They’re also Diamond Hard so can protect your floors against frequent footfall and heavy furniture.
Oil-based varnishes
Oil-based varnishes are thicker than water-based ones. This means that they penetrate the wood deeper, require fewer coats but do take much longer to dry – so you won’t be able to use your floor for at least 24 hours.
Oil-based varnishes also have a stronger smell and are prone to leaving brush marks. They may also colour your wood and over time will yellow.
Once you’ve chosen your varnish, you can crack on with preparing your floor and varnishing it.
Preparing your floor to varnish
Run your vacuum round to pick up grit and dirt.
Sand your floor with a floor sander to smooth down any rough floorboards or to get rid of peeling and flaking patches of varnish.
Let the dust settle and run your vacuum around again to pick it up. Then wipe the floor down with a damp cloth or white spirit.
If you notice any gaps or holes, fill them in.

Varnishing your floor
Stir the varnish to blend the colour and test it on a small patch to make sure you’re happy with it.
Use a 4” brush and start in the corner furthest from the door making sure you don’t paint yourself into a corner.
Three coats will give you the best protection and finish, so wait two hours for the first coat to dry. If you’re not using Diamond Hard Floor Varnish, check the manufacturer’s instructions to see what the dry time is.
Just before you add the third coat, lightly sand along the length of your floorboards with 240 grit sandpaper. You don’t need to use a floor sander and this step will help give a final, smooth finish. Wipe down your floor with a damp cloth to pick up the sanding shavings.
Apply the third coat and leave it two hours to dry (or however long the manufacturer says). You’ll be able to walk over it after that time.
You need to wait 24 hours (see manufacturer’s instructions) before moving your furniture in and be careful not to scratch or scrape the floor.
Looking after your varnished floor
It’s easy to look after your floor. You just need to be careful when moving furniture back in (you don’t want to undo all your hard work), and pick up grit that could scratch the surface. If you do discover a scratch, it’s easy to fix.
How to remove a scratch in the floor
There’s nothing more annoying that a perfectly varnished or painted floor and one big fat (or small) scratch to distract your eye. The good news is, it’s actually a relatively easy problem to solve and doesn’t require too much effort.
- Clean the scratch
Make sure that you thoroughly clean the scratch and remove any accumulated dirt or dust – you don’t want to trap it in the scratch. You can use a simple floor cleaner to do this.
- Fill it
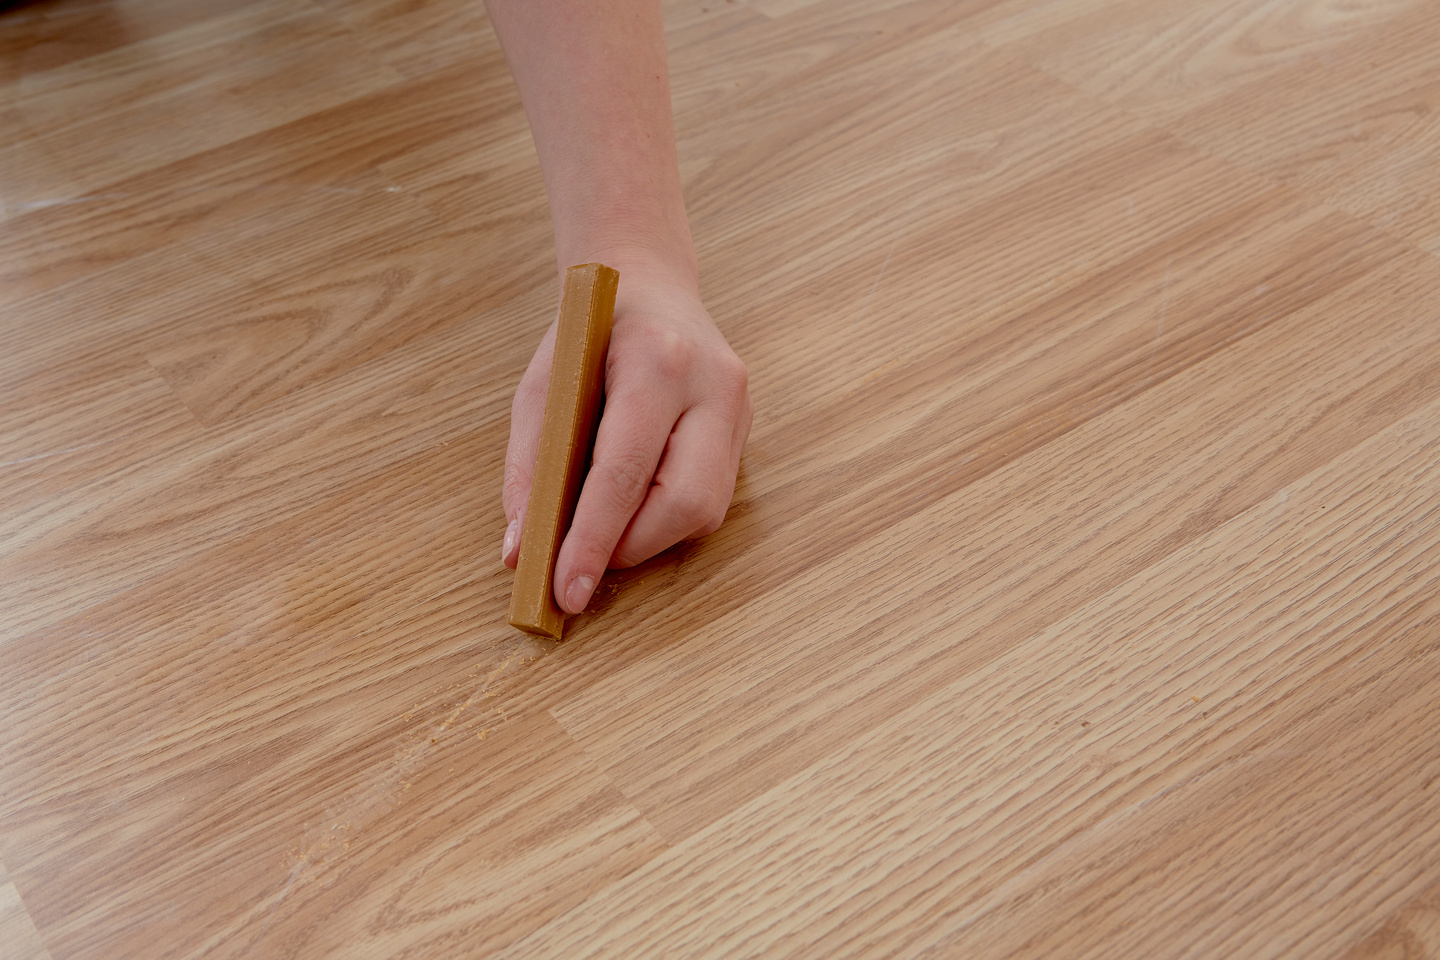
For shallow scratches, you can use a wax crayon that’s the same colour as your floor. Our Scratch Repair Kits are made of wax and to make it easy for you match the exact colour of your floor, they can be blended together.

So just rub the wax into the scratch, pushing down quite hard to make sure you’ve filled the gap.
- Refine it
Use a dry cloth to buff away any excess wax. You can check if you have made the filling level by running a finger across the scratch. If you can still feel a groove, apply more wax and give it another buff until it’s filled.
Leave the wax to settle for two hours.
- Seal it
To complete the job, you’ll need to seal the wax in place.
A laminate floor seal or hardwood restorer will be suitable to seal it in place.
And after you’ve left the sealant to dry (as per instructions), your floor will be as good as new!
How to seal laminate flooring
Sealing a laminate flooring is much easier than you may think. It just requires time and a little patience plus a good memory!
- Clean
You’re probably sick of us saying this, but you need to clean your floor first. Run the vacuum around and use floor cleaner to wipe down your floor.
Remove your furniture too and make sure the floor is completely clear.
Leave it to completely dry – a chamois rag will completely dry your floor in preparation for sealing.
- Read the instructions
Some sealants need mixing before you can use them, so make sure you read the instructions to find out what you need to do. Our sealant just needs to be shaken up!
- Apply the sealant
Once you’ve mixed or shaken it up, start in the corner furthest from the door and apply the sealant to the floor.
You’ll need damp pad or cloth to smooth so it might be worth keep a bucket of water nearby. Use the cloth to smooth out the sealant but don’t rub it in!
Leave the sealant to dry and then apply another coat, following the recoat time on the bottle.
- Reapply when needed
To keep your floors looking healthy and shiny, reapply the sealant whenever they start to appear worn.

Diamond Hard Floor Varnish brings out the natural finish in your wooden floors and provides long-lasting protection against every day knocks, scuffs and spills. It only takes 30 minutes to dry and can cover up to 18m2 per litre. Plus, it’s low odour so your home won’t smell of varnish for days on end.
More Details


